Sketch-n-Sketch [Tutorial]
Step 3: Indirect Manipulation using UI Widgets
This third lesson will cover:
- Ways to directly manipulate attributes that have no obvious direct representation.
This is a major and somewhat complicated topic, so we will spend the whole section on it. In addition, you'll get the chance to pursue a somewhat more involved design than you have in the previous two lessons, both to reinforce what you've already learned and to take advantage of this new design pattern.
Motivating UI Widgets
The results of direct manipulation changes in Sketch-n-Sketch have so far brought "traditional" user interface behavior to a setting where the output is generated by programs written in a high-level language. For example, dragging a rectangle affects its x- and y-positions; stretching the border of a circle affects its radius attribute; and so on.
As you begin to tackle more ambitious projects, however, you will discover that there are some attributes that you simply cannot manipulate directly. One example is the color of a shape. Many direct manipulation tools, such as Illustrator and PowerPoint, offer menus and sliders to control properties such as these, which have no obvious direct representation. Instead, sliders and other user interface widgets provide "indirect" manipulation over such attributes.
Color Numbers
Sketch-n-Sketch provides some basic support for user interface widgets like color sliders. As described in the first lesson, there are multiple ways to define the color of a shape in Little (as a valid CSS color string, and as a four-element list of numbers that specifies an RGBA value).
Alternatively, the color attribute may be defined using what we call a *color
number*, which is an integer in the range [0, 500). This notion, though
non-standard, has a simple meaning: the numbers 0 to 360 cover a wide range
of colors across the entire spectrum, and 361 to 499 cover a grayscale
spectrum. These 500 numbers constitute a large enough variety of colors for most
of our purposes. More importantly, the Sketch-n-Sketch editor provides special
support when color attributes are defined using these color numbers.
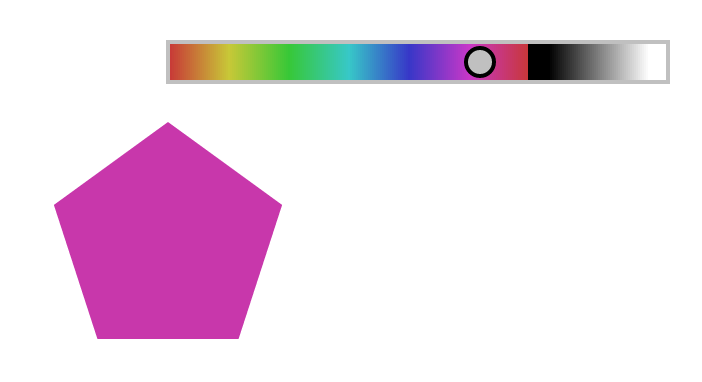
Practice 3.1: To see how this works, first write a simple program that draws a single shape. Then modify your program to use a color number, and then run it. Next, toggle the Zones to display Extra zones, rather than the Basic ones that we have been using so far. You'll notice that the shape is now equipped with a slider that can be used to change the color number value. That is, this slider indirectly manipulates the color of the particular shape. And better yet, as you have become accustomed to throughout this tutorial, this indirect manipulation is tied directly to the Little program, where the color number attribute is updated in real-time as you manipulate the slider. Not bad!
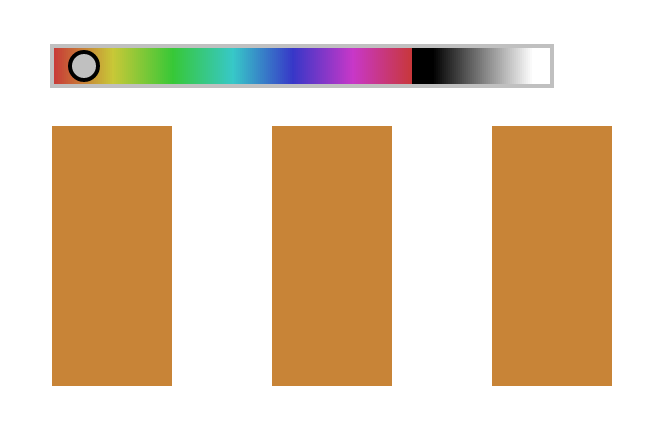
Exercise 3.1: Return to your rectangles example from the previous lesson, and modify the program to use a color number instead. Toggle the Zones to Color, and try manipulating one of the sliders. You'll notice that each rectangle gets its own color slider, which can clutter the canvas and which is also unnecessary since all your rectangles share the same color number. Not to worry, because Sketch-n-Sketch provides a way to hide some unnecessary zones like these. The function call
(basicZonesTail shapes)is a cue that only the first shape in a list of shapes (the "head" of the
list) should be given a color slider zone and that the rest of the shapes in the
list (the "tail" of the list) should only have the Basic zones. Besides this,
the call to basicZonesTail has no effect on the actual output canvas of the
program. Try adding a call to basicZonesTail in front of the `(map
placeRectangle [0 1 2])` expression in your program. This constitutes a small
way to customize the user interface in Sketch-n-Sketch, a theme that will crop
up again and again in this lesson. (If you're curious to see a bit more of
what's going on under the hood, take a peek at the Prelude source).
Example: Arranging Boxes in a Circle
No matter how awesome a GUI editor may be, not all attributes can be pre-wired to enable all kinds of direct manipulation the user may want. Beyond color, there are many other attributes in larger projects that are prime candidates for indirect manipulation. We will now work through one such example. But then we'll demonstrate how, without any additional built-in support from Sketch-n-Sketch, we can easily write our own tools to manipulate them anyway.
Our goal will be to implement a design with n squares evenly spaced along an
imaginary circle of a given radius. Along the way, we'll learn about some more
functions that come pre-loaded with Sketch-n-Sketch. Let's start by defining a
circle, using variables to make it easy to refer to them later:
(def [xCircle yCircle radius] [100 100 130])
(def theCircle (circle 400 xCircle yCircle radius))
As you may remember from trigonometry class (or pre-calculus, depending on how
recently you were in high school), a point (x,y) along a circle of a given
radius can be computed as (cos θ, sin θ) in terms of an angle
θ. Remember that θ starts at zero on the x-axis and increases in
the counterclockwise direction, returning to the start when θ equals two
times π. We'll use these equations to help compute the positions of n
boxes along the edge of theCircle, using the trusty
(map drawingFunction indices)pattern we have seen several times throughout the tutorial. In particular, we can start with:
(def [n boxLen] [7 40])
(def boxIndices ( ... someListHere ... ))

(def placeSquare (\i
  (let theta ( ... someCalculationGoesHere ... )
  (square 200
    (+ xCircle (* radius (cos theta)))
    (- yCircle (* radius (sin theta)))
    boxLen))))

(def theBoxes (map placeSquare boxIndices))

; The Main Canvas
(svg (append [theCircle] theBoxes))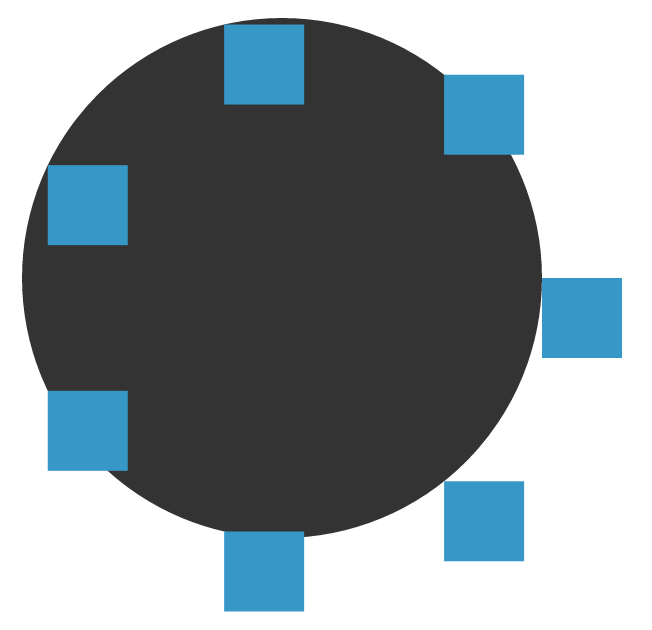
Notice here that we've used let to define a variable theta that only has
scope within the function definition. This means that the name theta can only
be used in this definition and so we can reuse the name later if we would like.
Furthermore, this is the first time that we've used the trigonometric functions
sin and cos. They are invoked just like any other function and only take one
argument that should be expressed in radians. Finally, notice that the y-value
calculation for the square uses a - instead of a + like the x-value
calculation. This is because the coordinate system for SVG graphics and our
canvas is such that the y-position increases towards the down direction of the
screen (which you may have noticed if you payed close attention as you
manipulated our previous examples).
Practice 3.2: To get things rolling, create a new file in the editor and enter what we have established so far, including the top-level definitions mentioned earlier. Fill in the missing expressions with some reasonable dummy values to start, just so that we can start to visualize parts of our output canvas.
Now, we have to figure out we should actually define theta and boxIndices.
Since there are 2π radians in a circle, the ith box out of n boxes
should be placed at (* i (/ (* 2! (pi)) n)) radians to be spaced evenly. Notice
that π is written as (pi) in Little. You can think of it as a built-in
function that is called with zero arguments (which explains the parentheses). We
freeze the number 2 because it is not something that should ever change. Let's
drop this calculation of theta into our template from above:
(def placeSquare (\i
  (let theta (* i (/ (* 2! (pi)) n))
  (square 200
    (+ xCircle (* radius (cos theta)))
    (- yCircle (* radius (sin theta)))
    boxLen))))
The last thing we need to do is define a list of indices from 1 to n.
Sketch-n-Sketch provides a function called range that computes precisely what
we need (take a peek at the Prelude source code if you want to
see how to write this (recursive) function in Little):
(def boxIndices (range 1 n))Make these changes and re-run the program.
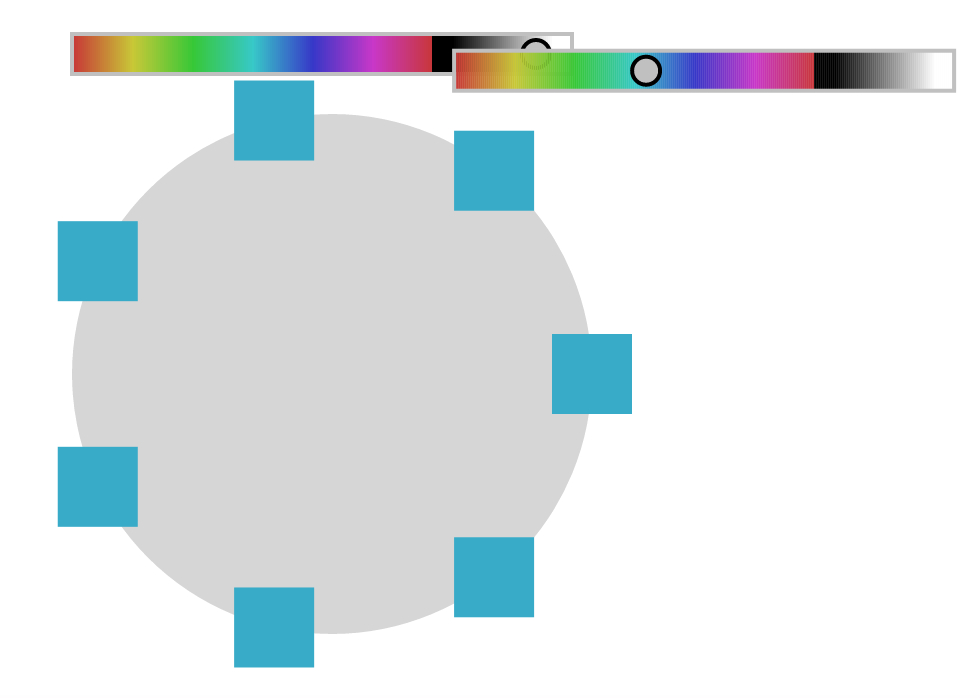
Practice 3.3: When you toggle color zones, you'll see a whole slew of sliders
sliding around. Make judicious use of the basicZonesTail function to hide the
redundant ones.
Exercise 3.2: You'll notice that position of the squares isn't quite right: the
top-left corners, rather than their centers, fall on the edge of the circle.
Modify the computed x- and y-positions inside placeSquare so that the boxes
are centered along the circle's edge.
Directly Manipulating the Number of Boxes
If you've started to directly manipulate the shapes, you will find that changing
the overall radius of the circle and boxLen of the boxes is pretty natural.
But changing the number n of boxes is not so easy. Even though some of the
interior zones of the boxes are such that hovering over them highlights the n
variable in yellow to indicate that it will
change, it becomes red when you actually attempt
to change it. In this case, Sketch-n-Sketch is able to determine that the n
variable goes into the calculation of the position because of its role in
determining theta, but it is unable to infer any program updates as a result
of direct manipulation.1
Native Sliders
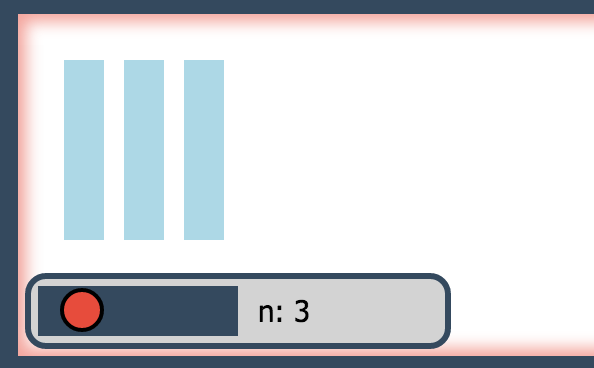
(def n 3{1-10})When the program is run, the canvas pane will display a slider that can be used to easily and unambiguously manipulate this number in the program. These "helper objects", or "widgets", can be toggled on and off by clicking the Widgets button.
Helper Objects
The sliders that are built-in to Sketch-n-Sketch can be quite handy. But there may be times where a more custom helper object would be better suited for the task at hand.
Practice 3.4:
Fortunately, in Sketch-n-Sketch one has the freedom to define custom helper
objects. For example, we create a helper object where where one of
its attributes is defined to be the "indirect" parameter n used by the rest of
the program. In this way, we can then directly manipulate this parameter without
having to touch the original source program ourselves.
Behold the following helper object:
(def helperObject
  (let xHelper (+ 10! (* 50! n))
  (square 'lightgreen' xHelper 10! 50!)))

(svg (append [theCircle helperObject] theBoxes))
The key is the x-position, namely, the xHelper expression
that is computed using n. Since all other constants that go into this
expression are frozen, Sketch-n-Sketch will definitely manipulate n when
dragging the box horizontally. We choose to freeze the y-position of helperObject,
so that it will only slide horizontally, not vertically. Try dragging this box
back and forth. You're now directly manipulating what was previously an
indirect parameter, and all using functions you already know! Cool, right?
Little Sliders
Since defining helper shapes (what we call user interface widgets) is very
common, we've defined a few nice-looking sliders that can be used instead of
having to build your own helper objects. For example, there is the hSlider function
that takes arguments as follows:
(hSlider roundInt xStart xEnd y minVal maxVal caption curVal)This returns two items in a list: the first element is the value that is being
manipulating and the second is the list of SVG elements that make up the
slider. The argument roundInt is a boolean (true or false) that
indicates whether or not the variable that it modifies should be rounded to the
nearest integer. The xStart and xEnd parameters indicate the x-positions
between which the slider should be drawn, and y indicates
the y-position. The minVal and maxVal parameters denote the minimum and
maximum values for the variable controlled by the slider, and
caption provides a label. Finally, curVal represents the current value
of the variable that it determines, and it is set when first creating the slider
to indicate the initial value.
Usually, a call to hSlider is paired with a def or let, as in the
following example:
(def [varName varSlider] (hSlider false 100! 500! 300! 0 100 'varName: ' 20))Then, varName can be used in your program like any other variable. Remember,
in order for the slider to appear, the list of shapes in varSlider must be
appended to the svg statement at the end of your program.
Practice 3.5: Let's go back to our earlier example of the boxes arranged in
a circle. To specify a slider that accomplishes the same thing as our
helperObject, we can replace it with the following. You should remove the
original definition of n, because now it is one of the return values from the
slider. And this new def should go near the top of the program, before you use
the n variable anywhere else.
(def [n nSlider] (hSlider true 30! 300! 30! 1! 7! 'Number of Boxes: ' 3))Finally, you should update the main canvas as follows:
(svg (concat [[theCircle] theBoxes nSlider]))Here, the library function concat is used to concatenate multiple lists into a
single list. Try this out.
It is important to note that the hSlider function is written in Little without
any "extra" support from Sketch-n-Sketch. This is in contrast to the built-in
color sliders for color numbers from earlier. The main takeaway is that
the programmer has the power to customize the user interface beyond what comes
pre-packaged into the design. This is a powerful idea that we believe
demonstrates the potential benefits of combining programmatic
and direct manipulation approach in Sketch-n-Sketch.
For more inspiration, we've provided other sample slider implementations in the built-in examples Sliders, Buttons, Widgets, 2D Slider, and Color Picker. Coming up with useful widgets and reusing them in later projects is a good idea, so feel free to copy what we've done if it helps your workflow. Take a look at the Box Grid, Active Trans, and Ferris Wheel examples to see how we have put custom UI widgets to good use.
Mini-Project
Now that we've gone through a significant amount of material, it's time for you to tackle a bigger project! Go ahead and do the following (in order would probably be easiest):
Exercise 3.3: Choose a design that you would like to create. It should involve at least three kinds of shapes and be complicated enough to be interesting to you. You may find it helpful to sketch on paper at this point.
Exercise 3.4: Choose a subset of the design that is all one shape and such that the elements are logically linked to one another. Write a placement function and map it over a list of indices or a list of some parameter to generate that subset of the image that is made of repeated elements.
Exercise 3.5: If possible, reduce that list of indices or parameters to an
expression that is determined according to only one or two variables. The
range function is very handy for simplifying index lists and mapping a
generateParameter function over a list of indices generated by range is also
a good way to generate a list of logically linked parameters.
Exercise 3.6: Create or use an existing UI widget to manipulate this parameter or parameters.
Exercise 3.7: Pick another subset of this design and repeat the above process. Continue this until you've completed the design, feeling free to "turn off" the UI widgets that you are not using anymore as well as freezing parameters that you have set how you like.
To get the creative juices flowing, here are some suggested project ideas:- A more full-featured color picker than the built-in color slider. Being able
- A simple picture of a
- A geometric art piece with repetitive elements. Feel free to
Next Up: Step 4
Actually, it is possible to define `placeSquare` in such a way as to make the `theta` "increment" for each square in terms of the position of the first box and then, from that, deduce the overall number of squares to place using this increment. If done in this fashion, direct manipulation of the position of this first square will change the number of squares. However, this is likely to be a rather convoluted way to set up the program and, worse, will make manipulating `radius`, `xCircle`, and `yCircle` parameters drastically less intuitive. However, if you are curious, you may enjoy trying this out anyway.↩